How JPEG Compression Works in Simple Terms
A beginner-friendly guide to how JPEG reduces photo file size, what lossy compression means, and why image quality can change.
- JPEG makes photo files smaller by keeping what people notice most and simplifying detail that is harder to see.
- Lossy compression means some original image information is discarded, so repeated re-saving can gradually reduce quality.
- The best JPEG setting depends on the photo, the display size, and whether you need maximum quality or a smaller file.
The simple idea
A digital photo can contain millions of pixels. If every pixel is stored in a very direct way, the file can become huge. JPEG compression reduces that size by describing the image more efficiently and by removing some detail that most people are unlikely to notice at normal viewing sizes.
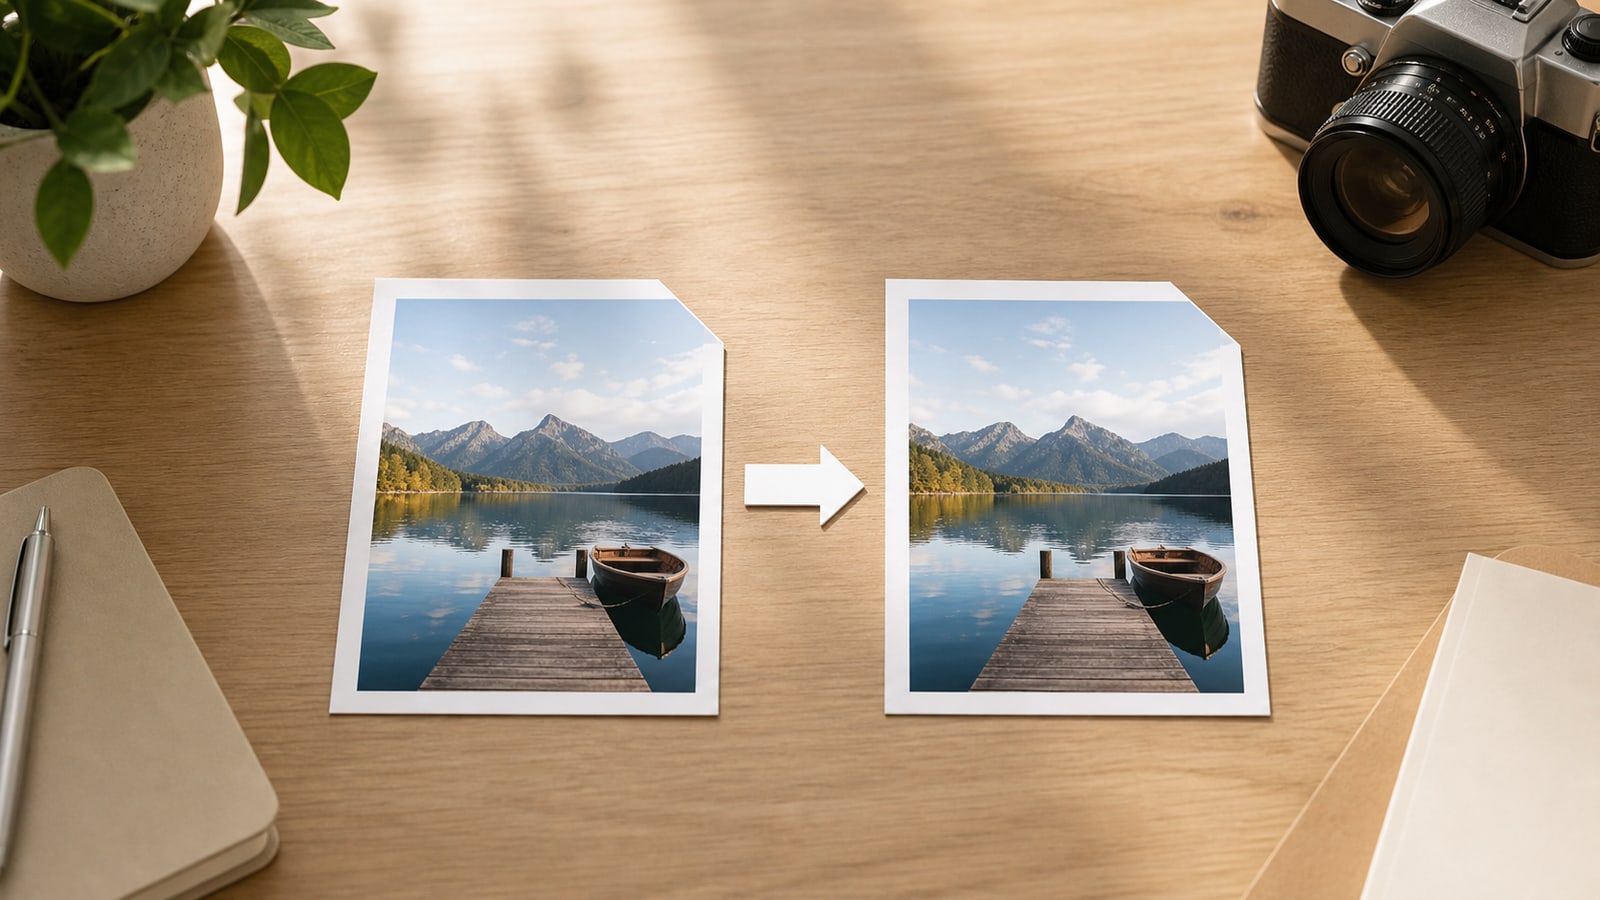
That is why a JPEG photo can look almost the same on a website while taking far less space than an uncompressed image. The tradeoff is that JPEG is not a perfect copy of the original after compression. It is designed to be visually practical, not mathematically identical.
What JPEG looks for
JPEG works especially well on photographs because photos usually contain smooth gradients, natural texture, soft shadows, and many colors. Human vision is also more sensitive to some kinds of detail than others, so JPEG can reduce information in places where the change is less obvious.
In simplified terms, JPEG breaks the image into small blocks, converts the picture information into frequency-like patterns, keeps the important patterns, and stores the result compactly. You do not need the math to use JPEG well. The useful lesson is that smooth photo detail compresses gracefully, while hard edges and tiny text are more fragile.
- Natural photos usually compress well
- Flat graphics and screenshots often show artifacts sooner
- Fine text, sharp lines, and repeated re-saves need extra care
Lossy compression, without the jargon
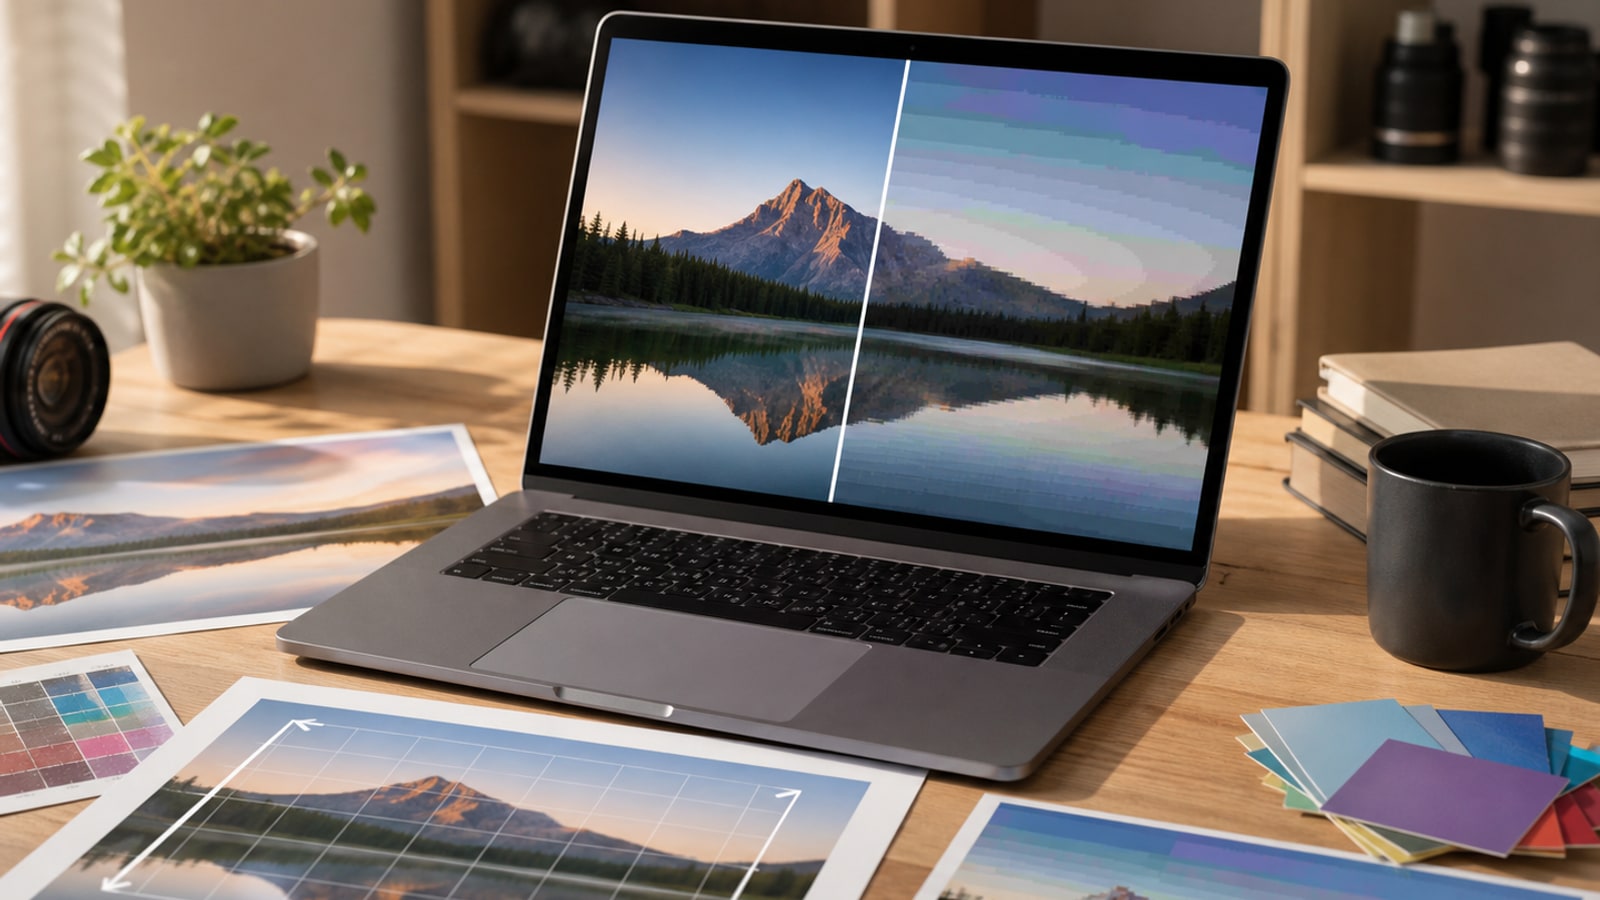
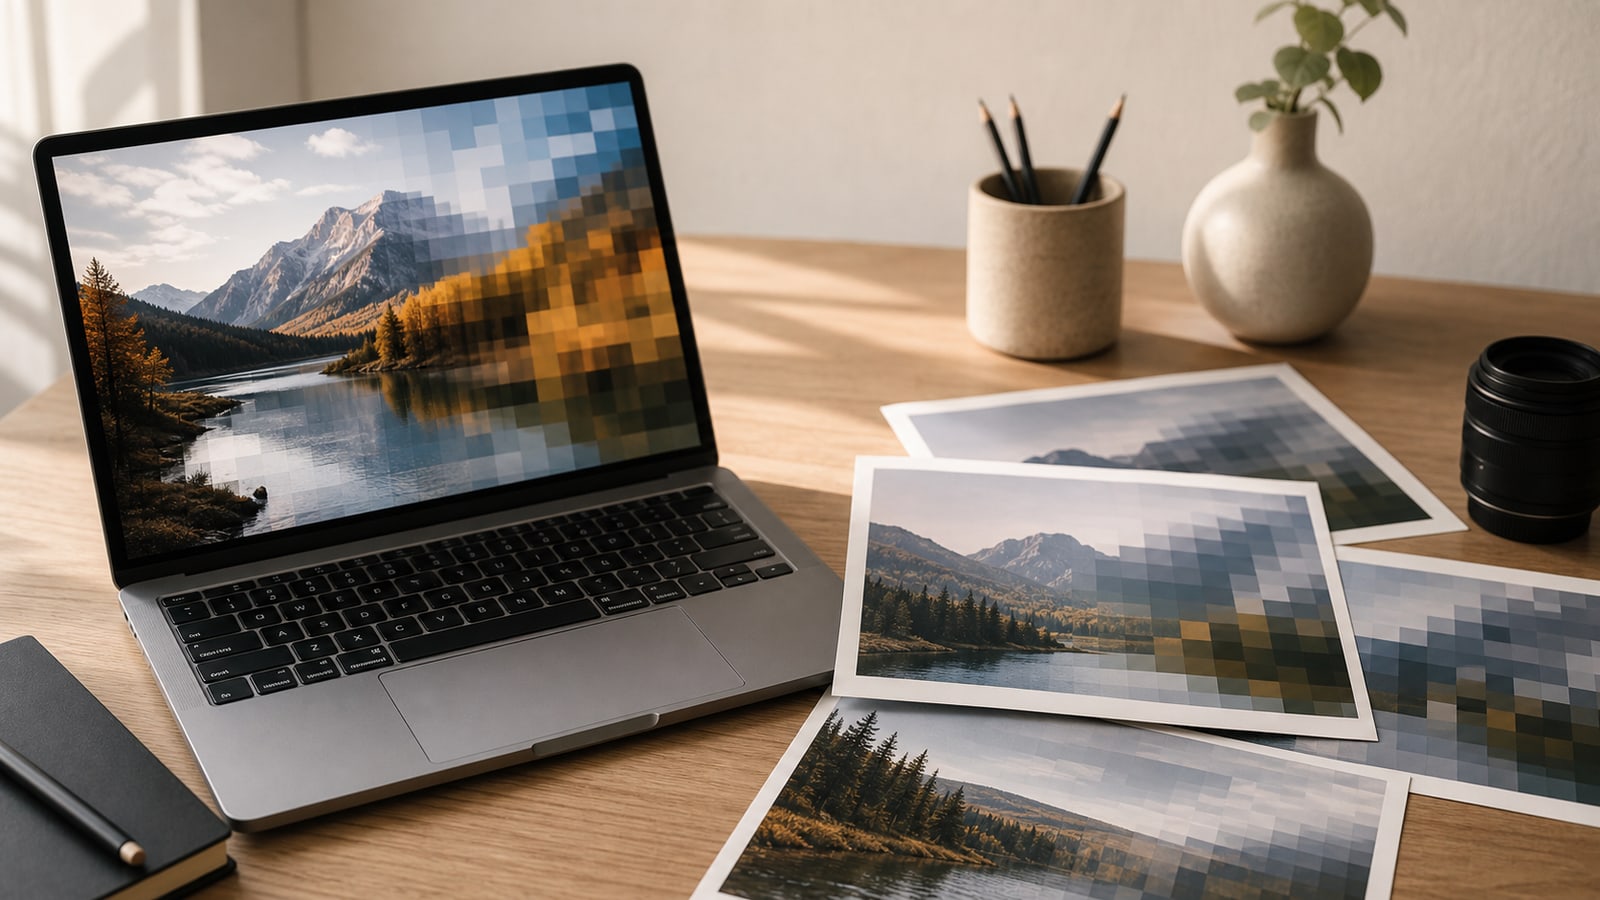
Lossy compression means the file gets smaller partly because some original information is thrown away. When the quality setting is sensible, the lost information may be difficult to see. When the compression is too strong, the missing detail becomes visible as blockiness, smudged texture, rough color transitions, or halos around edges.
This is different from a lossless format such as PNG, where the decoded image can match the stored image exactly. JPEG chooses a smaller file and broad photo compatibility over perfect preservation of every tiny detail.
Quality settings in practice
Most image editors and export tools hide the technical details behind a quality slider. Higher quality usually means a larger file with fewer visible artifacts. Lower quality usually means a smaller file with more visible simplification.
The numbers are not universal. A quality value of 80 in one app may not match 80 in another app, but the general tradeoff is similar.
| Setting range | What usually happens | Good for |
|---|---|---|
| High | Larger files, cleaner gradients, fewer artifacts | Portfolio images, product photos, important originals |
| Medium | Balanced size and quality for normal viewing | Blog posts, web pages, social previews |
| Low | Small files, but artifacts can become obvious | Thumbnails, drafts, non-critical previews |
Why quality can change over time
Opening a JPEG to view it does not damage it. Copying it does not damage it either. Quality changes when the image is decoded, edited, and saved again as a new JPEG. At that point the image is compressed again, and the new save may discard more information.
One re-save at a high quality setting may be harmless for everyday use. Many edits and re-saves can add up. For important work, keep a high-quality original or an editing master, then export a fresh JPEG only when you need the final delivery file.
- Keep the original camera file or high-quality source when possible
- Avoid repeatedly saving the same JPEG after small edits
- Export a new JPEG from the best available source for final use
- Use PNG, TIFF, PSD, or another editing-friendly format when you need a working master
A practical checklist
You do not need to become a compression engineer to make good JPEG choices. A few habits handle most everyday cases.
- Use JPEG mainly for photographs, not logos or text-heavy screenshots
- Resize the image to the display size before chasing extreme compression
- Compare the exported file at the size people will actually view it
- Check smooth skies, skin tones, shadows, and sharp edges for artifacts
- Keep a better source file if you may need to edit the image later